

To ensure your plant thrives after repotting, choose a pot 1-2 inches larger than the current one and ensure it has drainage holes. I recommend using fresh, nutrient-rich potting mix and moistening it slightly before use. Carefully remove your plant from its old pot, supporting it by the base, and gently tease out the roots to encourage growth in their new environment. Place the plant in the center of the new pot and fill around it with soil, avoiding air pockets. Water it thoroughly to settle the mix and eliminate air gaps. There’s more to explore that will help your plant settle in perfectly.
Recognizing the Need
Recognizing when to repot your plant is crucial for its health and growth. If you notice roots peeking through the drainage holes, it’s a sign your plant is root-bound and desperately needs more space. This isn’t just about comfort; cramped roots can severely impact plant health.
Also, keep an eye on the soil surface. A buildup of white, crusty nutrients suggests it’s time to refresh with a new soil mix to ensure proper water absorption and nutrient delivery. If you’re dealing with succulents, remember that many varieties enter a dormancy period in winter, which might affect the timing and approach to repotting.
Moreover, if your plant starts to look too big for its planter, risking instability or tipping over, it’s definitely time to repot. Lastly, compacted soil that resists water is a clear indicator; your plant’s growth depends on a well-aerated, nutrient-rich environment.
Choosing the Right Time
In the wake of understanding your plant’s growth patterns, selecting the optimal time to repot is pivotal.
It’s important to know that the best time to repot most plants is during late winter or early spring. This period just before the new growth season kicks in allows your plant to recover and thrive with minimal stress.
Especially for slow-growing plants like Aloe Vera, which require careful timing to avoid disrupting their natural growth phases, this timing can be crucial. By aligning repotting with their slow growth rate, you ensure they’ve the best conditions to establish themselves in their new environment.
- Early Spring: The new growth signals it’s the ideal time to give your plants fresh soil and more room to expand.
- Young Fast-Growing Plants: These might need repotting every 6 months to a year, so always be on the lookout.
- Observe Soil Color Changes: Yellowing or browning perlite is a clear sign that it’s time to refresh the environment of your plant.
Gathering Essential Supplies
Once you’ve pinpointed the best time to repot your plant, the next step involves getting the right supplies ready.
First, gather a clean planter that’s slightly larger than the current one to ensure your plant has room to thrive. Always use a fresh, nutrient-rich potting mix; brands like Bio Leaf or Wildvine are excellent choices as they provide the essential nutrients your plant needs.
Don’t forget to wear gardening gloves to keep your hands clean and protected from any irritants. If your new planter lacks drainage, prepare some lava rocks to facilitate proper drainage and prevent root rot.
Lastly, have a soil scoop or large spoon handy to distribute the fresh soil efficiently as you repot.
For those looking to integrate technology into their gardening, consider a self-watering planter which can offer a more forgiving environment by maintaining balanced moisture levels, especially important during the adjustment period post-repotting.
Selecting the Appropriate Pot

When you’re ready to choose a new pot for your plant, it’s crucial to pick one that’s 1-2 inches larger in diameter than the current one. This size allows adequate space for root growth without the risk of excessive moisture retention, which can be detrimental.
- Drainage Holes: Ensure the appropriate pot has drainage holes to prevent water buildup and protect against root rot. This is essential for healthy repotting.
- Material Choice: Consider terra cotta for its breathability, which helps manage moisture levels, or plastic if you’re looking for something more budget-friendly and lightweight.
- Plant Type Compatibility: Match the pot type to your plant’s specific needs; for instance, self-watering pots can be ideal for beginners to help control watering.
Selecting the right pot is fundamental to successfully repot your plant.
Preparing the Potting Mix
Before you begin the repotting process, it’s essential to prepare your potting mix properly to ensure your plant thrives in its new home.
Start by choosing a fresh, nutrient-rich mix, such as Bioleaf or Wildvine, tailored for your plant’s specific needs. Avoid using old or expired soil as it can hinder plant growth.
It’s crucial to lightly moisten the potting mix before use; this helps the ingredients bind together, reducing the risk of water pooling at the roots.
Mix the components thoroughly to promote even distribution, which enhances drainage and aeration, crucial for preventing root rot.
Properly prepared potting mix not only supports your plant’s health but also ensures robust growth in its new environment.
Removing the Plant Safely
/SPR-how-to-repot-a-plant-8629819-hero-80bbacf16f1449a8bbbabf5ddbd87e10.jpg)
After preparing your potting mix, the next step is removing your plant safely from its old pot.
Gently grasp the plant by the base of its stems or leaves, providing steady support while you ease it out. If the plant resists, don’t yank it out. Instead:
- Gently tap around the old pot’s sides to loosen the grip of the compacted soil.
- Use a plastic knife to carefully separate the soil from the pot edges without slicing through the roots.
- Check for any roots poking through the drainage holes and cautiously free them.
This careful approach ensures you don’t harm the plant or its roots, making the transition to its new home smooth and stress-free.
Inspecting and Pruning Roots
Once you’ve safely removed your plant from its old pot, it’s crucial to inspect and prune the roots carefully.
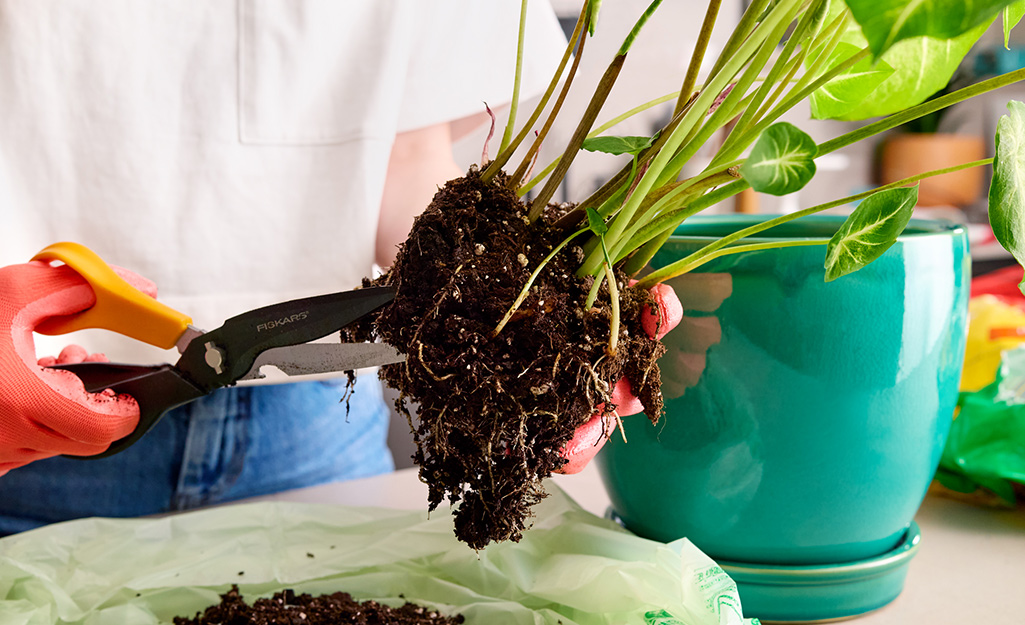
Start by inspecting roots for signs of vitality. Healthy roots are typically white or light-colored, while dark or mushy ones can indicate rot and should be pruned away. Use clean, sharp pruning shears to cut back to healthy tissue. This prevents infection and promotes better nutrient absorption.
Gently untangle any circling roots to prevent them from spiraling and encourage them to adapt to the new potting mix. Aim to remove about one-third of the old potting mix from around the root ball; this reduces transplant shock and supports balanced growth.
After pruning, ensure roots are evenly spread in their new home.
Repotting Step-by-Step
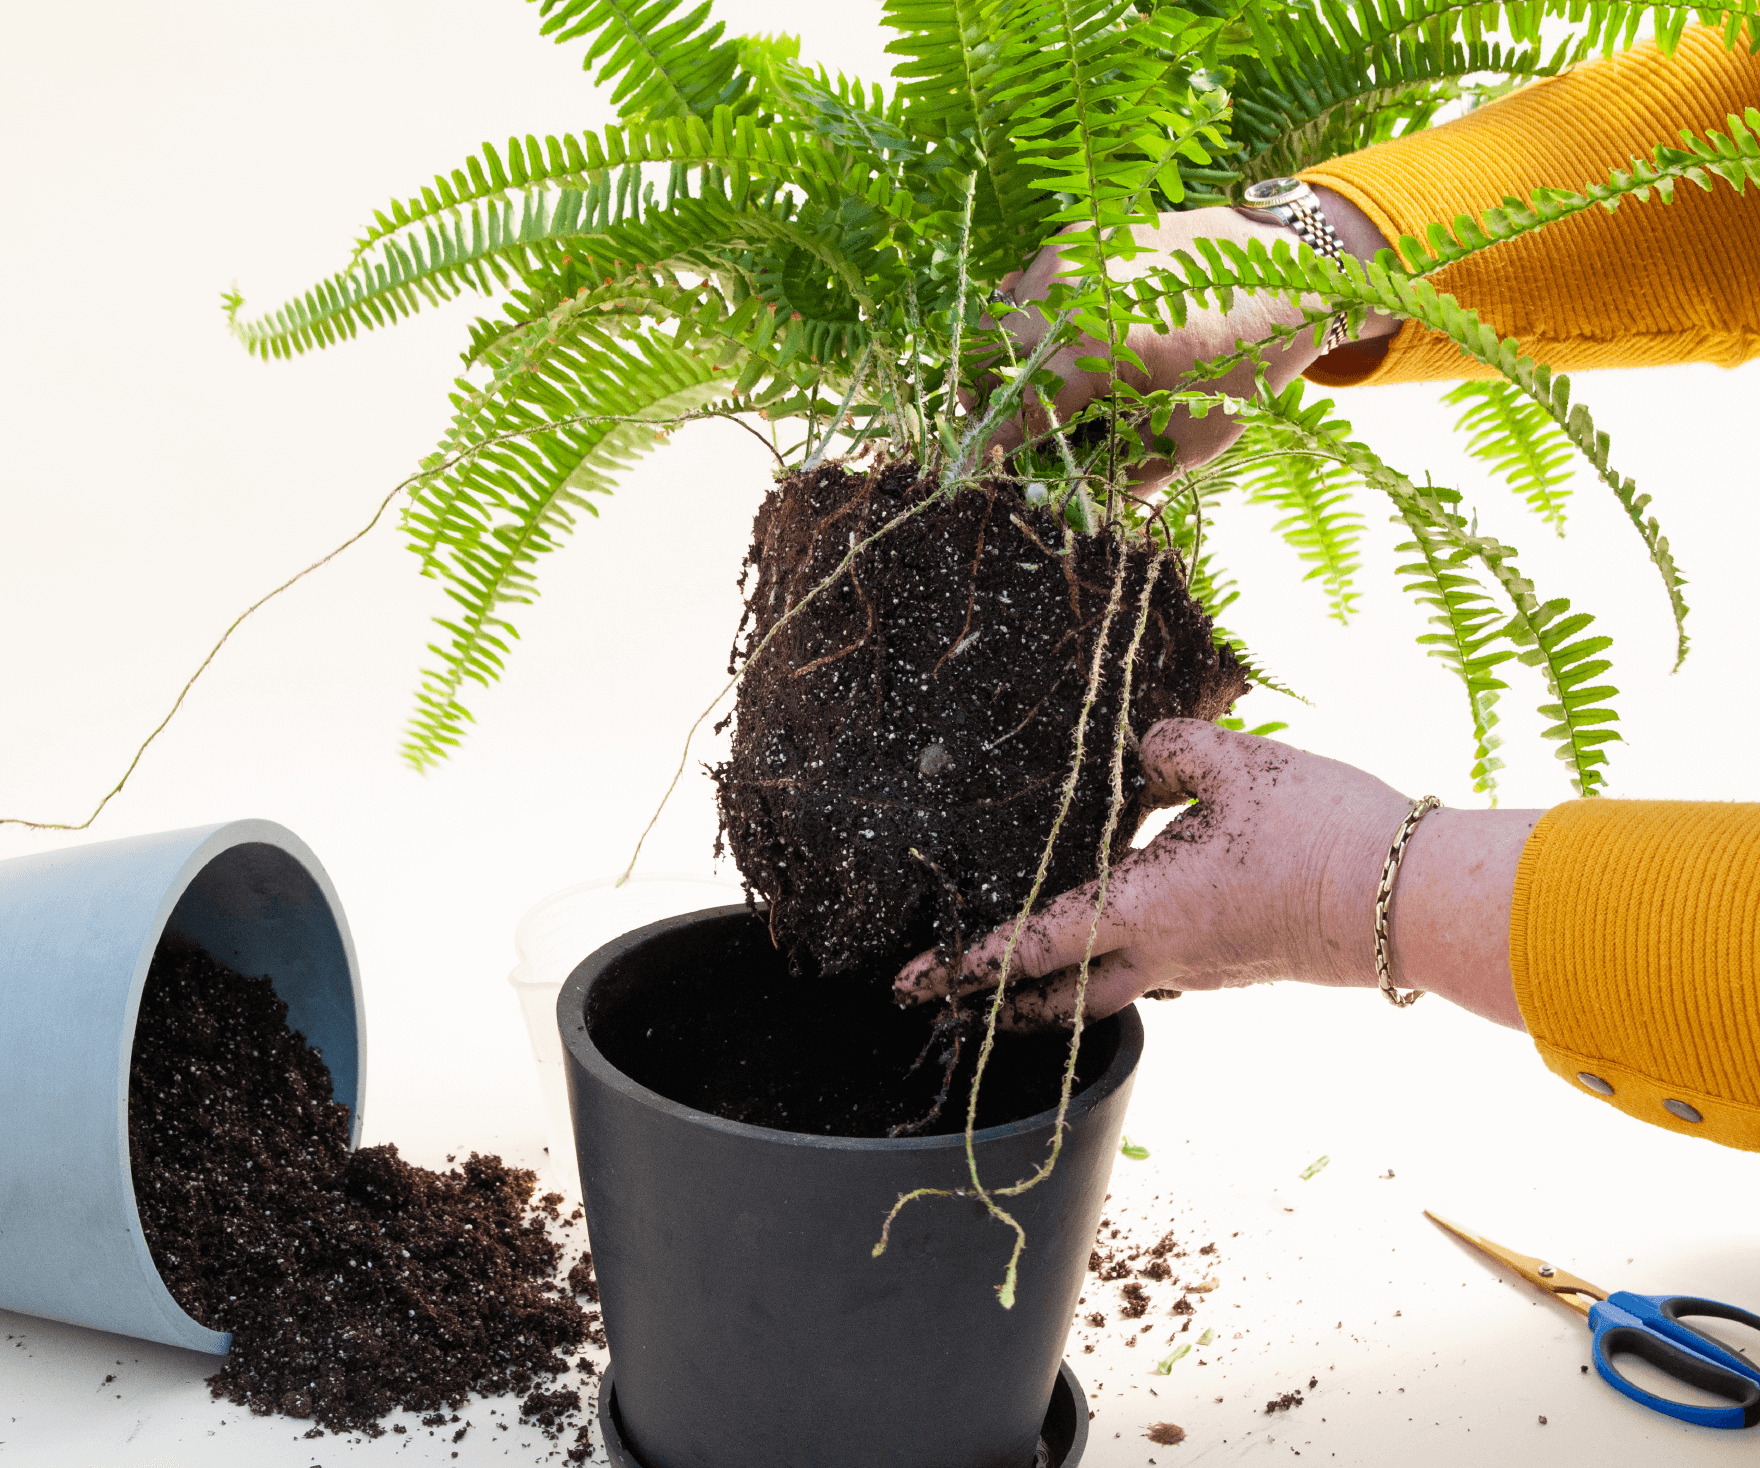
Typically, the process of repotting begins by carefully lifting your plant from its previous container, ensuring that you support the leaves or stems to prevent any damage.
Once free, gently tease out the plant’s roots to promote healthy growth in their new home.
- Trimming the Roots: Snip away overly long or unhealthy roots, keeping the robust ones to anchor and nourish your plant in the new potting mix.
- Adding Fresh Soil: Pour a base layer of rich, nutrient-packed new potting mix into the pot, positioning your plant centrally before filling the surrounding gaps, ensuring no air pockets remain.
- Settling In: After repotting, water your plant thoroughly to settle the mix around the roots and help eliminate any excess water.
Remember to monitor the plant closely and keep your plants alive by adjusting care as needed.
Initial Watering Techniques
Often, the initial watering after repotting is crucial for helping your plant settle into its new environment.
To start, thoroughly water the plant using either the bottom or top watering method. For bottom watering, place your pot in a shallow tray filled with water, allowing the soil to absorb moisture evenly. This technique minimizes the risk of overwatering.
If you prefer top watering, pour water gently until it drains from the bottom, saturating the soil without disturbing it. Avoid watering again for a week to prevent transplant shock, while keeping an eye on soil moisture levels.
Additionally, consider a nutrient solution in your initial watering to boost root recovery and provide essential nutrients.
Post-Repotting Care
After you’ve given your plant its initial thorough watering, the next step is ensuring it thrives in its new home.
Post-repotting care is crucial to help your plants adjust smoothly. Keep the following in mind:
- Monitor Soil Moisture: New soil often retains water differently. Check the moisture level regularly to determine how much water your plants need without overdoing it.
- Place in Indirect Sunlight: Too much direct sunlight can stress the plant. Find a spot where the light is filtered and gentle.
- Maintain Consistent Humidity: Especially if you live in a drier climate, consider using a humidity tray or a small humidifier to keep the air around your plant moist, aiding in recovery and growth.
Monitoring Plant Recovery
In the wake of repotting, closely monitoring your plant’s recovery is essential to ensure its health and vitality.
Keep an eye out for signs of stress, such as yellowing leaves or wilting, which could signal the need for adjustments in your care routine. Regularly check the soil moisture to determine if your watering schedule needs tweaking, as repotted plants often require more water while they establish themselves.
Additionally, watch for new growth, which indicates a successful recovery. It’s crucial to maintain stable temperature and humidity levels, avoiding any drafts or direct sunlight that might hinder the plant’s adjustment.
Document these observations to better understand and optimize your plant’s ongoing needs, ensuring a thriving, healthy plant.
Adjusting Care Based on Response
As you observe your plant’s reaction to repotting, it’s crucial to adjust your care practices accordingly. Monitoring your plant’s response is essential for fostering healthy new growth and a successful repotting routine.
Here are key adjustments to consider:
- Monitor Soil Moisture: Check the soil more frequently than usual. Adjust your watering schedule based on how quickly the soil dries to prevent over or under-watering.
- Observe Stress Signs: Yellowing leaves or wilting are alerts. Modify the plant environment, perhaps by shifting away from direct sunlight and increasing humidity.
- Encourage New Growth: As your plant stabilizes, gradually reintroduce fertilizers to support healthy growth without overwhelming it.
Adjusting care based on these observations will help your plant thrive in its new home.
Continuing Plant Maintenance
Maintaining your plant’s health requires consistent, attentive care once you’ve repotted it. Regularly check the soil moisture to ensure it’s time to water—wait until the top inch is dry to avoid overwatering, which can be detrimental.
It’s crucial to keep your plants thriving by monitoring them for signs like yellowing leaves or wilting, which indicate stress. Adjust your care routine to support their recovery and promote healthy growth.
Fertilize every 4-6 weeks with a balanced, water-soluble fertilizer to provide the essential nutrients needed for vigorous plant growth.
Also, maintain ideal temperature and humidity levels, prune damaged foliage, and deadhead spent flowers to encourage new growth and keep your indoor plants alive and flourishing.