
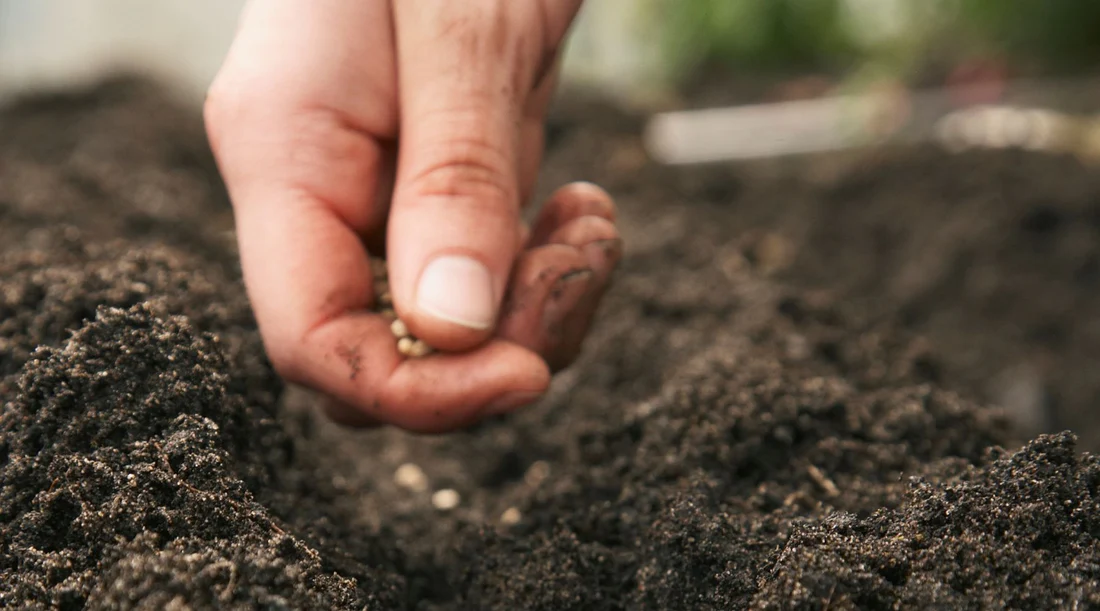
To kickstart your seed sowing journey effectively, begin indoors for crops like tomatoes and peppers to optimize growth conditions. For radishes, watermelons, and other outdoor-loving crops, direct sowing is ideal. Seedling success hinges on precise timing––start about six weeks pre-last frost date for sturdy growth. Select a well-lit, temperature-stable indoor spot, with proper soil and moisture levels. Before diving deeper into the must-knows of seed sowing, ensuring the right depth, container hygiene, watering techniques, garden bed prep, labeling system, progress monitoring, and harvesting tips is crucial for a thriving garden.
Seed Selection
When selecting seeds for indoor starting, prioritize crops like tomatoes, peppers, lettuce, and kale for optimal growth conditions. These plants tend to flourish when initially grown indoors. Consider the characteristics of the seeds you choose; some seeds, such as those of cauliflower and eggplant, require particular attention to root development and cold sensitivity. These factors can greatly impact the success of indoor seed starting.
Conversely, crops like radishes, watermelons, cucumbers, beans, and peas are better suited for direct sowing outdoors. Direct sowing these seeds can often lead to more robust and successful growth. Keep in mind the transplant success rate when deciding between indoor starting and direct outdoor sowing. Research the specific needs of each seed to determine the best course of action for optimal growth and yield. By carefully selecting seeds based on their indoor or outdoor preferences, you set the stage for a successful gardening experience.
Optimal Timing
To optimize the success of your indoor seed starting, precise timing plays a critical role in ensuring robust seedling growth and healthy plant development. Starting seeds indoors should typically be done about six weeks before the last frost date to ensure healthy seedlings. Soil temperature, not air temperature, is crucial for successful seed germination. Tools like soil thermometers, seed packets, and planting calendars help determine the best seed starting date.
- Soil Temperature Importance: Understanding the optimal soil temperature for different vegetable crops enhances germination success.
- Use of Tools: Utilize resources such as planting calendars and seed packets to determine the ideal timing for starting seeds indoors.
- Alignment with Last Frost Date: Initiating seed planting about six weeks before the last frost date ensures strong seedling development.
Indoor Setup
Select a well-lit indoor location with consistent temperature to establish an optimal setup for successful seed starting. When setting up your indoor seed starting station, ensure the area receives ample sunlight or consider using grow lights to provide the necessary light for seedlings to thrive. Choose high-quality potting soil to fill your seed starting trays or containers, ensuring proper drainage with holes at the bottom to prevent waterlogging. Maintaining a consistent level of moisture in the soil is crucial for healthy seed germination indoors. Remember to label your seed trays or containers accurately to keep track of the sowing date and plant variety. By creating a well-equipped indoor setup with the right lighting, soil, and moisture levels, you set the stage for successful seed starting and robust seedling growth. Following these guidelines will help you establish a conducive environment for your seeds to sprout and flourish indoors.
Soil Preparation
To ensure successful seed sowing, it’s crucial to begin with thorough soil preparation. Testing the soil pH and adjusting it as needed will provide an optimal environment for seed germination. Additionally, determining the correct seed depth for planting is essential for proper root development and growth.
Soil Testing
Before sowing your seeds, conduct a soil test to assess nutrient levels and pH for optimal plant growth. This crucial step in soil preparation ensures that your seeds have the best possible environment to thrive. To make the most out of your soil test, keep the following key points in mind:
- Nutrient Assessment: Determine the current levels of essential nutrients like nitrogen, phosphorus, and potassium in your soil. This information will guide you on the type and quantity of fertilizers needed for your seeds.
- pH Evaluation: Understand the pH levels of your soil as different plants thrive in varying pH ranges. Adjusting the pH to suit your specific seeds will enhance nutrient availability and overall plant health.
- Soil Texture Examination: Analyze the soil texture to ensure good drainage and aeration. Sandy soils drain quickly but may need more frequent watering, while clay soils retain water but may compact easily. Improving soil texture promotes healthy root development and seedling growth.
Seed Depth
Assessing the appropriate seed depth is essential for successful soil preparation when sowing seeds for optimal plant growth. The depth at which seeds are sown directly impacts their ability to germinate and develop into healthy plants. Different seeds require specific planting depths; smaller seeds generally need to be planted closer to the surface, while larger seeds can be planted deeper. Planting seeds too deep can hinder their access to essential elements for growth such as light, warmth, and moisture. Adequate soil preparation plays a crucial role in determining the ideal seed depth, as loose and well-draining soil allows roots to establish and access necessary nutrients and water effectively.
Here is a guide to seed depth based on plant size:
| Plant Size | Seed Depth | Examples |
|---|---|---|
| Small | Shallow | Lettuce, Carrots |
| Medium | Moderate | Tomatoes, Peppers |
| Large | Deeper | Beans, Squash |
Container Choices
Selecting containers with proper drainage holes is crucial for maintaining root health and preventing waterlogging in your seedlings. When choosing containers for your seeds, consider the following:
- Sustainability: Opt for biodegradable or reusable containers to align with environmentally friendly practices and reduce waste in your gardening endeavors.
- Transplanting Convenience: Look for containers that make transplanting seedlings easy and convenient. This will help minimize root disturbance and ensure the seamless transfer of your plants as they grow.
- Hygiene: Prioritize clean and sterilized containers to prevent the spread of diseases among your seedlings. Keeping your containers free from harmful pathogens will promote the overall health of your plants from the start.
Sowing Techniques
Utilize diverse sowing techniques to enhance precision and efficiency when planting your seeds. Broadcasting is a method where seeds are evenly scattered over the soil surface, providing a natural look to your garden. Seed balls, on the other hand, involve mixing seeds with clay and vermiculite to form small balls, aiding in seed protection and distribution. For a more organized approach, consider row sowing, which allows for creating neat rows for your seeds, making it easier to manage and differentiate between different plant types. Remember to mark your rows or sections using fine sand or straw for guidance. Ensuring proper moisture and shading is crucial to maintain a moist seedbed and provide shade for optimal germination conditions. Experiment with these sowing techniques to find the method that works best for your seeds and garden layout.
| Sowing Technique | Description |
|---|---|
| Broadcasting | Seeds scattered over soil surface |
| Seed Balls | Seeds mixed with clay for sowing |
| Row Sowing | Seeds planted in organized rows |
:max_bytes(150000):strip_icc()/how-to-direct-sow-garden-seeds-2539874-hero-32074607f4f94af9a5260980f98280c6.jpg)
Light Requirements
To promote healthy growth and development of seedlings, ensuring they receive 14-16 hours of bright light daily is crucial. When you start seeds indoors, it’s imperative to provide them with the best grow lights to mimic natural sunlight. Here are key points to consider for healthy seedlings:
- Optimal Light Duration: Seedlings need 14-16 hours of bright light each day to thrive. Ensure they receive this consistent light exposure for robust growth.
- Proper Light Placement: Position the grow lights close to the seedlings, but regularly adjust the height to prevent heat stress. This ensures they receive the right amount of light without causing harm.
- Preventing Growth Issues: Inadequate light can lead to stunted growth and weak seedlings. By providing sufficient light, you promote healthy development and vigor in your seedlings.
Temperature Control
Maintaining precise soil temperatures is crucial for ensuring successful seed germination and healthy seedling development. Soil temperature, rather than air temperature, plays a vital role in the germination process. Different vegetable crops have specific temperature requirements for optimal germination. To determine the best conditions for seed germination, consider using tools like soil thermometers. If the soil temperature is not within the optimal range, heating pads can be utilized to provide the necessary warmth for seeds to germinate effectively. These heating pads can help speed up the germination process, ensuring that seeds receive the warmth they need to sprout. Additionally, plastic coverings and grow lights can aid in creating the optimal conditions for seed germination. By carefully monitoring and controlling the soil temperature, you can significantly increase the chances of successful germination and promote the healthy growth of your seedlings.
Watering Tips
To ensure successful seedling growth, it is crucial to master the art of watering. Proper watering frequency, soil moisture maintenance, and watering techniques are key aspects to focus on. By understanding these points, you can provide your young seedlings with the optimal care they need to thrive.
Proper Watering Frequency
For precise and effective watering of seedlings, utilize a fine spout watering can or misting bottle to prevent soil disturbance. When it comes to watering frequency, it’s crucial to strike a balance to ensure your seedlings thrive. Here are some expert tips to help you achieve proper watering frequency:
- Water seedlings gently and evenly: To avoid soil disturbance and ensure each seedling receives adequate moisture, water them gently and evenly across the soil surface.
- Allow slight soil dryness: Allowing the soil to dry slightly between waterings prevents overwatering, which can lead to root rot and other issues.
- Adjust based on plant needs: Be attentive to the watering needs of different plant types, adjusting the frequency based on soil moisture levels and environmental conditions.
Soil Moisture Maintenance
Ensure optimal soil moisture levels by utilizing a fine spout watering can or spray bottle to prevent seed displacement. Maintaining proper soil moisture is crucial for seedling development. To avoid the risk of root rot, allow the soil to dry slightly between waterings. Consistent moisture levels are vital for healthy growth. Overwatering should be avoided as it can lead to fungal diseases and hinder root development. Proper watering practices ensure that seedlings receive adequate hydration without drowning their delicate roots. When watering seedlings, aim for even moisture throughout the soil. Monitor the moisture levels regularly by feeling the soil with your fingers; moist, not soggy, is the goal. Adjust your watering frequency based on the specific needs of your seeds and seedlings. By following these guidelines, you can prevent issues such as root rot and provide the ideal environment for your seeds to thrive.
Watering Techniques Explained
When watering seedlings, utilize a fine spout watering can or spray bottle to prevent seed displacement and ensure gentle hydration. It is crucial to maintain the right balance when watering seedlings to promote healthy growth and prevent issues like root rot. Here are essential watering tips to help you care for your seedlings effectively:
- Allow Soil to Dry: Let the soil slightly dry between waterings to prevent overwatering and root rot in delicate seedlings.
- Use Diluted Fertilizer: Sparingly apply a diluted fertilizer to provide essential nutrients without risking burning the young seedlings with an excess of nutrients.
- Direct Water to Soil: Apply water directly to the soil around the seedlings rather than overhead to encourage root growth and reduce the risk of fungal diseases.
Seedling Care
Providing optimal care for seedlings involves ensuring proper air circulation by promptly removing humidity domes. Adequate air circulation is vital to prevent the buildup of excess moisture, which can lead to fungal diseases. Additionally, adjusting temperature settings is crucial for maintaining the ideal growing conditions for seedlings. Most seedlings thrive in temperatures ranging from 65-75°F (18-24°C) during the day and slightly cooler at night.
When it comes to light requirements, seedlings need 16-18 hours of bright light daily to support healthy growth. Placing seedlings near a sunny window or using artificial grow lights can help meet this need effectively. Watering seedlings from the bottom is recommended as it promotes strong root development while preventing waterlogged soil issues.
Lastly, proper fertilization and thinning of crowded seedlings are essential steps in seedling care. Fertilize seedlings with a diluted solution to avoid nutrient burn, and thin out excess seedlings to ensure each plant has enough space to grow vigorously. By following these seedling care practices diligently, you’ll set your plants up for success.
Transplant Preparation
Prepare for successful transplanting by focusing on key aspects like soil selection, container size, and watering techniques. The soil should be nutrient-rich, containers appropriately sized, and watering consistent. Attention to these details will help ensure a smooth transition for your seedlings.
Soil Selection Tips
Select a well-draining potting mix rich in organic matter to ensure optimal seedling growth during transplant preparation. When choosing the right soil mix for your seedlings, keep in mind these essential tips:
- Avoid Heavy Soils: Opt for a lightweight potting mix to prevent compaction issues that could hinder root development and water drainage.
- Promote Aeration and Moisture Retention: Look for soil mixes that balance aeration and moisture retention, providing the ideal environment for healthy root systems to develop.
- Enhance Nutrient Content: Incorporating nutrient-rich compost into the transplant site can lay a strong foundation for robust seedling growth, ensuring they have access to essential nutrients for thriving.
Container Size Consideration
When choosing containers for transplanting seedlings, ensure they have a depth of at least 2-3 inches to accommodate strong root systems. Opt for containers with ample drainage holes to prevent waterlogging and root rot, promoting healthy growth. Transplant seedlings with care to minimize root damage, ensuring a smooth transition to their new environment. Larger containers provide more space for root development, reducing the frequency of transplanting and promoting overall plant health.
Selecting the right container size is crucial for successful transplanting. A well-sized container allows seedlings to establish robust root systems without becoming root-bound. This, in turn, promotes better nutrient uptake and overall plant vigor. Additionally, larger containers offer more stability for the seedlings, reducing the risk of toppling over as they grow.
Prepare the new container with a well-draining potting mix to support healthy growth post-transplanting. Ensuring the right container size, proper drainage, and gentle handling during transplanting will help minimize root damage and set your seedlings up for success.
Watering Techniques
To ensure successful transplant preparation, water seedlings from the bottom to avoid disturbing their delicate roots. Using a fine spout watering can or a spray bottle allows for precise watering without causing soil disturbance. This method also helps prevent root rot by allowing the water to reach the roots directly where it is needed most. Remember to let the soil slightly dry between waterings to promote healthy root development and minimize the risk of root diseases.
- Watering from the bottom: This technique ensures that the roots receive water directly, promoting robust growth.
- Fine spout watering can: Using a tool with a fine spout enables you to control the water flow and target specific areas without causing soil erosion.
- Prevent root rot: By watering from the bottom and allowing the soil to dry slightly between waterings, you can effectively prevent root rot and other moisture-related issues, ensuring the health of your seedlings.
Garden Bed Readiness
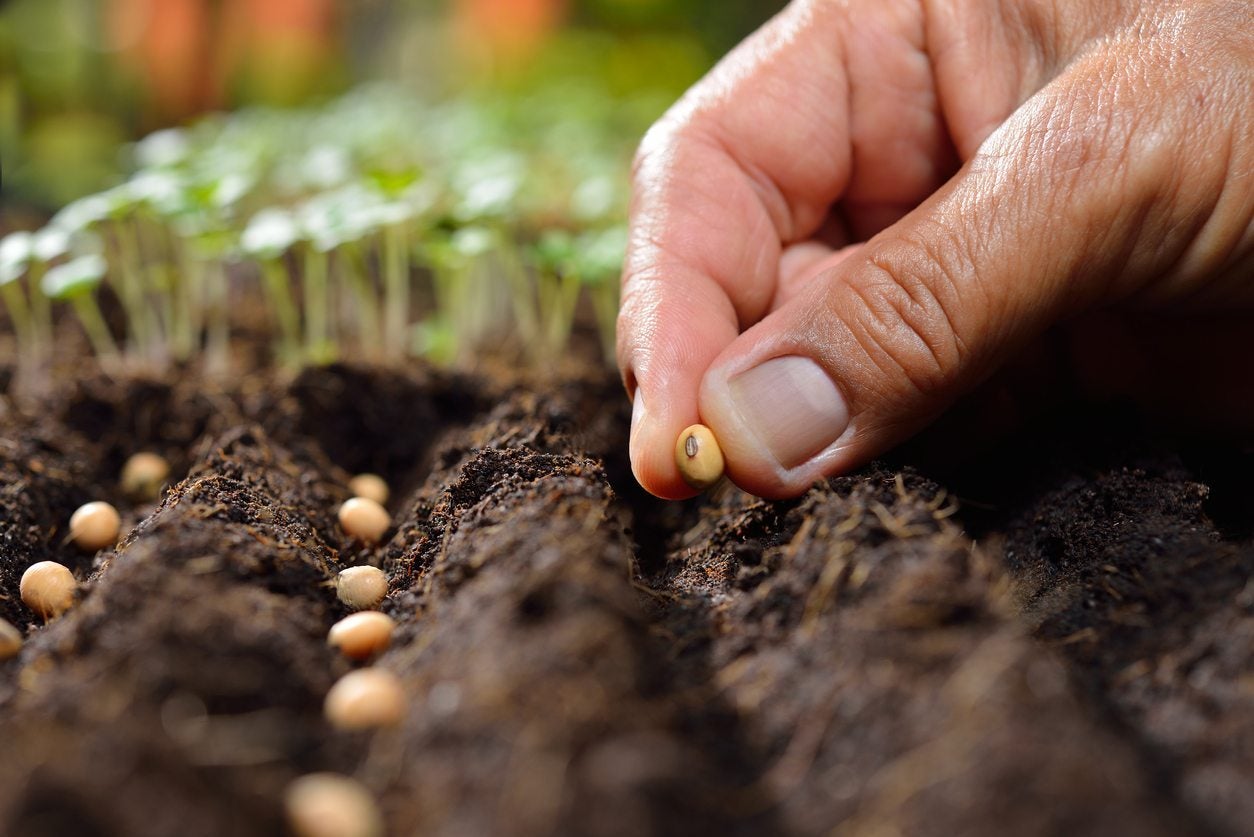
Assess the readiness of your garden beds by ensuring they are well-prepared with nutrient-rich compost and loosened soil. Before sowing seeds, it’s crucial to test the soil pH levels and make necessary amendments to provide the optimal growing conditions for your seedlings. Clear the garden bed of any debris or weeds that could hinder the growth of your plants. If you’re looking for easier maintenance and improved drainage, consider using raised beds or containers for your seedlings. Proper spacing between seedlings is essential to allow for adequate growth and airflow within the garden bed, promoting healthy development.
| Garden Bed Readiness Tips | Description | Importance |
|---|---|---|
| Nutrient-rich compost | Enhances soil fertility | Provides essential nutrients for seedling growth |
| Soil pH levels | Determines soil acidity levels | Affects nutrient availability to plants |
| Raised beds | Improves drainage and maintenance | Helps prevent soil compaction and aids root growth |
Labeling System
Labeling your seed trays with the plant name and sowing date is a crucial step in tracking progress and identifying seedlings accurately. When setting up your labeling system, consider the following expert tips:
- Use Waterproof Plant Labels: Opt for durable plant labels or popsicle sticks to withstand watering and ensure longevity.
- Choose the Right Writing Tool: Employ permanent markers or label makers for clear and long-lasting labeling that won’t fade over time.
- Organize Rows with Labels: Arrange your seed trays with clearly labeled rows to prevent confusion and mix-ups, making it easier to care for your seedlings effectively.
A meticulous labeling system not only aids in monitoring the progress of your seeds but also plays a vital role in providing appropriate care, watering, and eventual transplanting of the seedlings. By implementing a well-thought-out labeling strategy, you can streamline your seed-sowing process and set yourself up for success in your gardening endeavors.
Monitoring Progress
To effectively monitor the progress of your seedlings, focus on tracking growth stages, observing any signs of distress, and recording essential growth data. By measuring the distance between nodes and checking for the appearance of true leaves, you can ensure proper development and readiness for transplanting. Remember to keep a detailed record of growth patterns and any encountered issues to make informed adjustments for future seed sowing endeavors.
Progress Tracking Tips
Consider using a seed starting journal to meticulously track sowing dates, germination times, and growth progress for effective monitoring. This journal will serve as a valuable tool in your gardening endeavors, allowing you to stay organized and make informed decisions based on your observations. Here are some progress tracking tips to enhance your seed sowing experience:
- Monitor Seedling Growth: Regularly measure the height, observe leaf development, and assess the overall health of your seedlings to ensure they are thriving.
- Take Photos: Capture images of your seedlings at different stages to visually track their progress and identify any abnormalities or growth patterns.
- Record Observations: Keep detailed notes of any changes, growth patterns, or issues you notice, as this information will help you refine your seed sowing techniques for future success.
Observing Growth Stages
Observing growth stages in your seedlings is crucial for monitoring progress and ensuring they are developing healthily and according to expectations. To effectively monitor seedling progress, pay close attention to key growth stages such as the emergence of cotyledons and true leaves. Daily observations should focus on leaf expansion and stem growth, allowing you to track development accurately. Keep an eye out for signs of stress like wilting or yellowing leaves, as these indicators can signal the need for adjustments in care routines. Additionally, measuring seedling height and comparing it to recommended growth milestones for each plant type provides valuable insights into their overall health and progress. Remember to document growth stages through methods such as photos or a journal. This documentation will not only help you track progress but also enable you to make informed decisions regarding the care and maintenance of your seedlings.
Recording Growth Data
Keep a detailed growth journal to accurately document seed starting dates, germination rates, and plant development milestones. This journal serves as a crucial tool in tracking the progress of your seeds from the initial planting stage to full-grown plants. Here are some essential tips for recording growth data effectively:
- Consistent Tracking: Regularly update your growth journal with details on seed starting dates, germination rates, and key plant development milestones to ensure a comprehensive record of progress.
- Detailed Observations: Record specific measurements such as plant height, leaf count, and overall health to track growth patterns accurately and identify any potential issues promptly.
- Visual Documentation: Capture the journey of your seedlings through photos at different stages to visually document growth and changes over time, providing a clear visual reference for your records.
Bountiful Harvest
To achieve a bountiful harvest, ensure you start your seeds at the right time and in the proper location. Starting seeds at the optimal time and place is crucial for successful growth, planting, and ultimately, a fruitful harvest. By following proper seed sowing techniques, you set the stage for successful germination and the development of healthy seedlings. Each plant variety has specific requirements for growth, so understanding the optimal conditions for the seeds you are planting is essential.
Utilize tools such as soil thermometers and planting calendars to determine the best times for sowing your seeds. By monitoring soil temperature and following recommended planting schedules based on last frost dates, you can plan effectively for a productive growing season. This attention to detail and adherence to a seed-sowing guide will help you maximize the potential of your plants, leading to a bountiful harvest that you can enjoy.