

When setting up bat house poles, prioritize secure attachment to a solid surface and optimal positioning for sunlight exposure and protection. Choose a location under eaves for shelter and mount 12-20 feet high facing East or South. Use sturdy wooden posts or durable metal poles mounted in concrete. Ensure stability and avoid wobbling. Consider enhancing weatherproofing with insulation and caulk. Regular maintenance is key for longevity. Remember to paint plywood black for heat absorption. Additional tips for safe and effective mounting await for you to discover.
Mounting the Bat House Pole

To mount the bat house pole effectively, secure it to a sturdy wooden post, steel pole, or building side to enhance bat attraction and accessibility. When choosing the location for mounting, consider attaching the bat house pole to a building side under eaves to provide better protection from rain and predators. Buildings offer ideal mounting sites, particularly in cool or dry climates, as they help bats locate the houses faster than tree-mounted ones.
When mounting the bat house pole, ensure that it is securely attached to the chosen surface to prevent any wobbling or instability. This will also help in maintaining the longevity of the bat house and provide a safe roosting spot for the bats. Remember to avoid mounting the bat house on trees, as they receive reduced sun exposure and pose an increased risk from predators.
Tools Required for Installation

The installation of bat house poles necessitates the use of specific tools to ensure a secure and stable mounting process. To begin, you will require a drill with a Phillips-head bit for creating holes for D-rings on the board. The level is essential to ensure the pole is straight and upright during installation. A shovel will be needed to dig the hole for inserting and stabilizing the pole in the ground. Additionally, concrete or Quikrete is necessary to secure the pole firmly in place, providing stability and support for the bat house.
For a secure attachment, you will need mounting cleats, safety brackets, screws, and a metal pole. The screws play a crucial role in securing the mounting piece and attaching the bat house to the metal pole. Mounting cleats and safety brackets are vital components for ensuring the bat house is securely fastened to the pole, preventing any potential accidents or damage. By using these tools in the installation process, you can ensure a safe and durable mounting for your bat house.
Hanging the Bat House
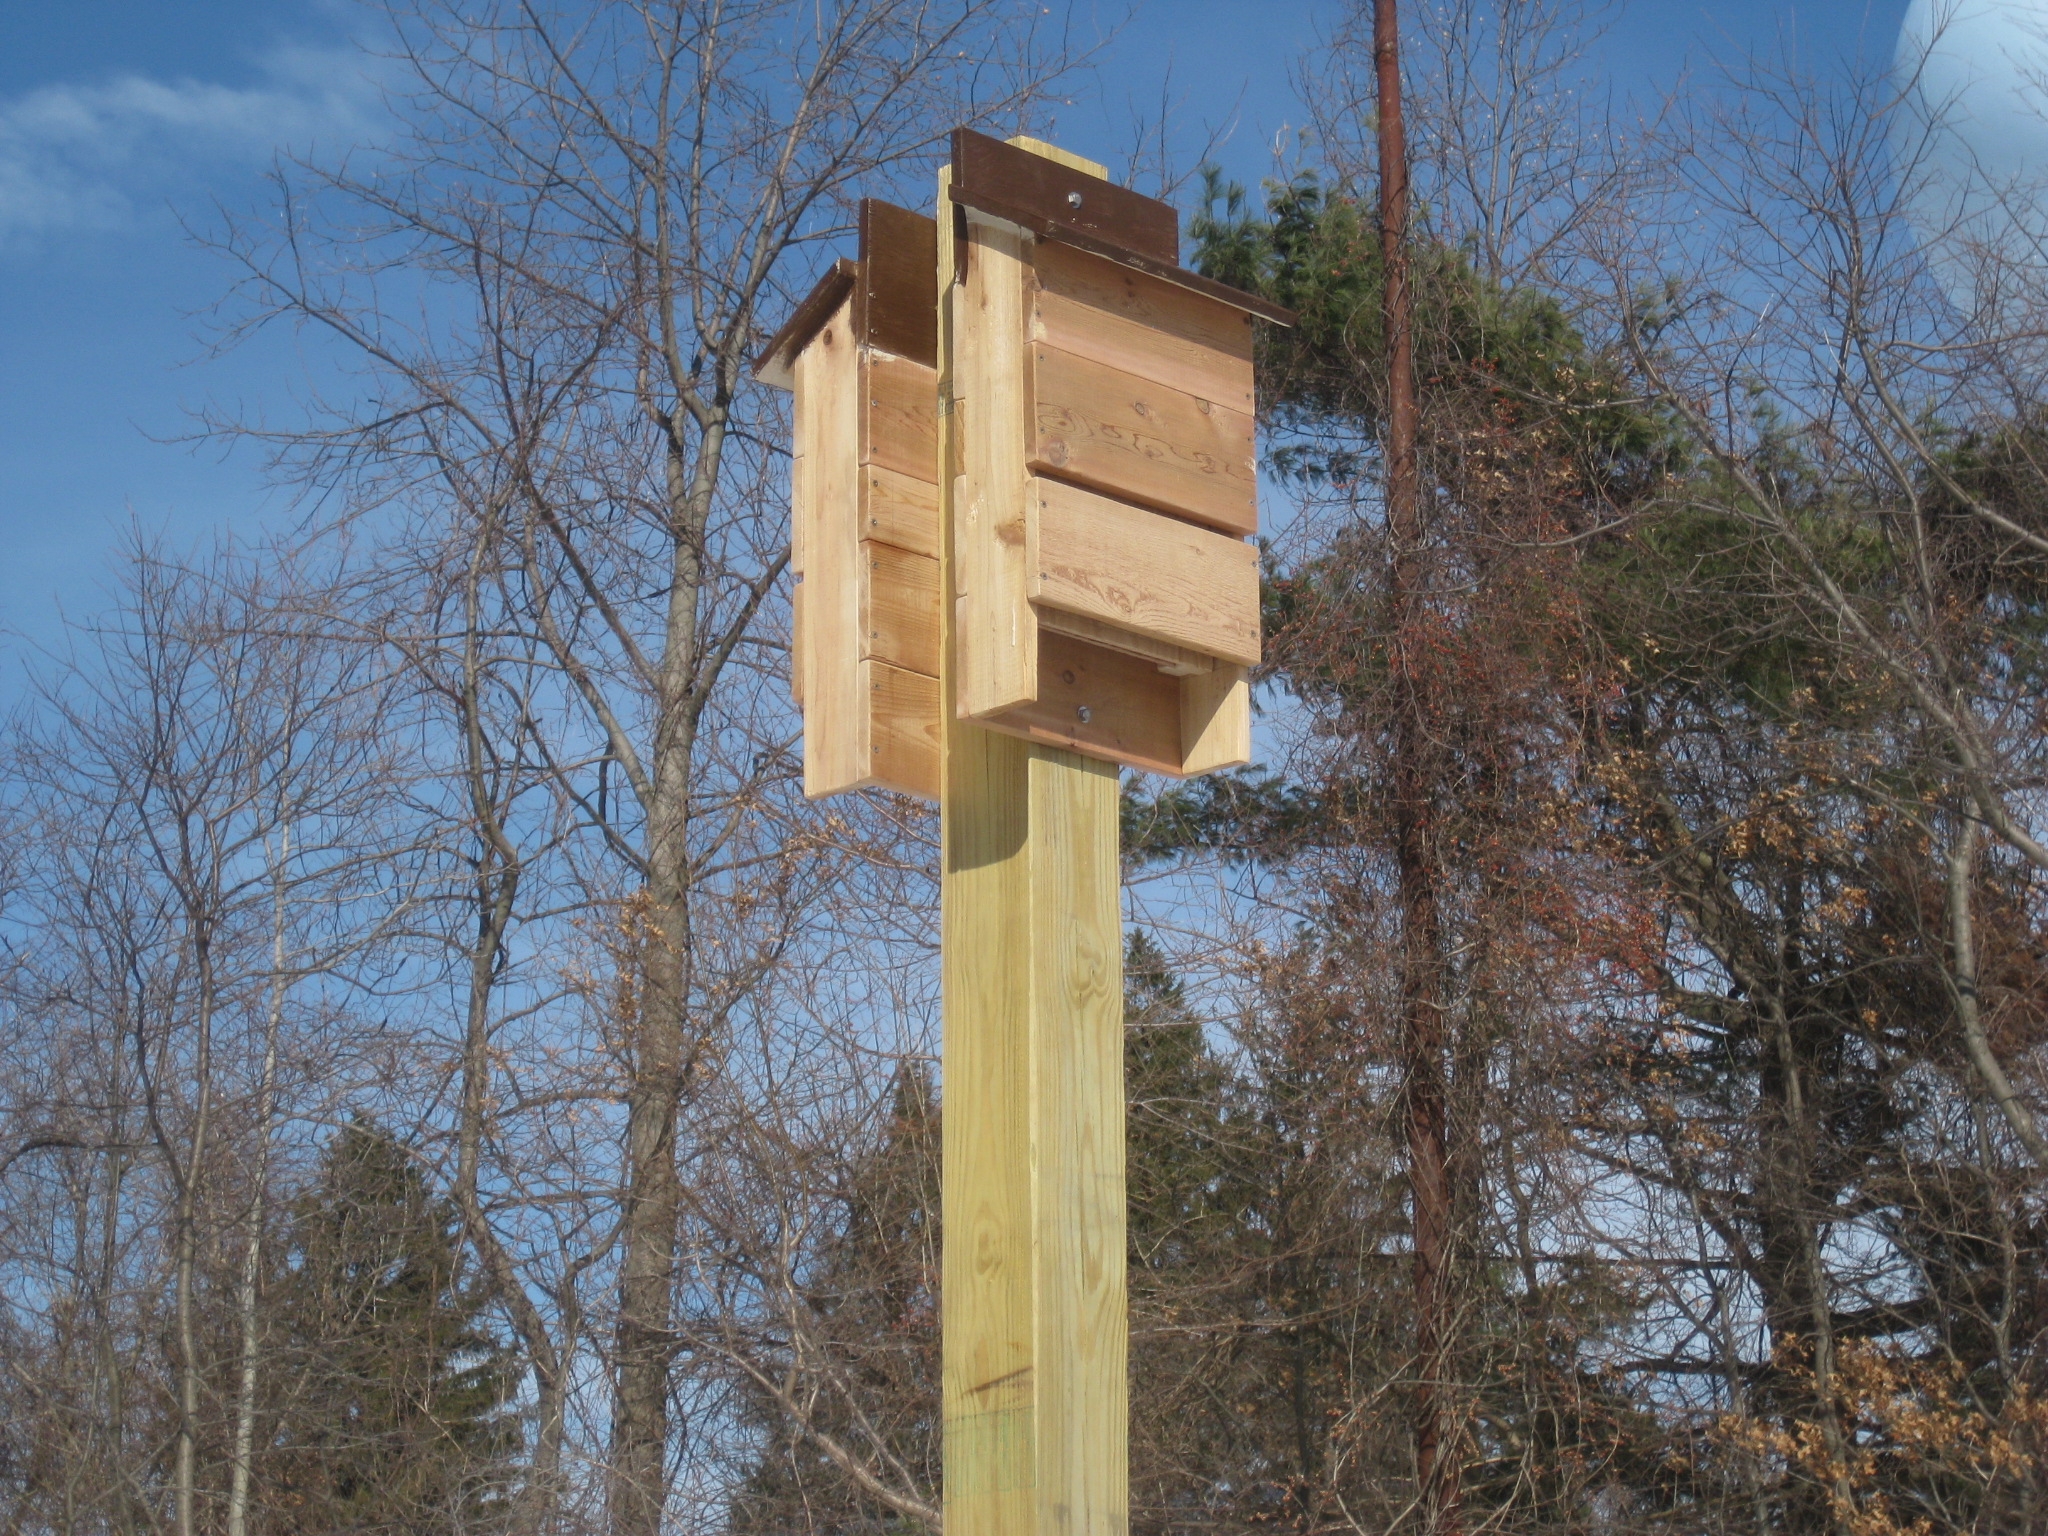
For hanging the bat house, ensure you select a sunny, unobstructed location that receives 6-8 hours of direct sunlight daily. Mount the bat house 12-20 feet above the ground or vegetation, at least 20-30 feet away from tree branches to avoid interference with bat flight. The optimal orientation for the bat house is facing East or South to maximize sunlight exposure throughout the day. When choosing a mounting option, consider wooden posts, steel poles, or building sides, as these provide better bat attraction and accessibility compared to tree branches. Avoid mounting the bat house on trees to reduce the risk of predation and to ensure an unobstructed flight path for the bats. Properly hanging the bat house in a strategic location is crucial for attracting bats and providing them with a safe and comfortable roosting space.
Attaching the Bat House

When securing the bat house to the mounting piece, utilize weather-resistant screws for a sturdy attachment that can withstand outdoor conditions. Position the bat house at an optimal height and orientation on the wooden pole to maximize sunlight exposure, with the entrance facing south or southeast. Enhance weatherproofing by adding insulation and applying caulk around the bat house seams. Consider painting the plywood black for better heat absorption, especially in cooler climates. Regular maintenance is crucial; inspect the bat house regularly and clean it to ensure longevity and attract bats. Ensure the bat house is securely fastened to the mounting piece to prevent it from swaying or falling off the pole. By following these steps, you can create a welcoming and safe habitat for bats while also ensuring the longevity and effectiveness of the bat house.
Setting Up the Wooden Pole
Digging a hole 36 inches deep and 10-12 inches across is the initial step for setting up the wooden pole for your bat house installation. To ensure stability and durability, opt for a 4×6 pressure-treated wooden post. Once the hole is dug, fill it with gravel to facilitate proper drainage and water runoff. Next, slide a Post Protector onto the post and secure it using sealing washers and lag screws for added strength.
Make sure the post faces southeast to provide optimal sunlight exposure for the bat house. Before setting the post in concrete, confirm that it is plumb and level to guarantee the bat house’s stability. Concrete should be poured around the post, ensuring a secure fit. This method not only secures the post firmly but also prevents it from shifting over time.
Following these steps meticulously will not only ensure the longevity and stability of your bat house mounted on the pole but also contribute to creating a suitable habitat for bats to thrive.
Setting Up the Metal Pole

Secure the metal pole in the designated location by ensuring it is level and upright before proceeding to fill the hole with concrete or Quikrete for stability. Dig a hole that is at least 2 feet deep to provide a solid foundation for the pole. Once the pole is inserted, use a level to ensure it is perfectly straight vertically and horizontally. Fill the hole with concrete or Quikrete mix, following the manufacturer’s instructions for the proper consistency. Position the metal pole facing southeast to maximize sunlight exposure, which is crucial for attracting bats to the bat house. Metal poles are known for their durability and weather resistance, ensuring long-lasting support for the bat house. Their sturdy construction can withstand various weather conditions, providing a reliable mounting option for your bat house. By setting up the metal pole correctly, you are creating a stable and durable foundation for your bat house to thrive.
Additional Tips for Mounting

For optimal bat house mounting success, consider the following additional tips. When mounting bat houses on poles, ensuring the proper installation step-by-step is crucial to secure the safety and attract bats effectively. Here are some essential guidelines for secure mounting:
- Best Location for Your Bat: Choose a location that receives 6-8 hours of direct sunlight, facing East or South, to provide warmth and optimal conditions for bats.
- Secure the Mounting: Use a post-hole digger for a sturdy foundation, ensuring the pole stands at least 15 feet high to prevent predators and obstruction of sunlight.
- Guide on Choosing: Select a wooden post, steel pole, or building side to attach the mount securely, enhancing bat attraction and safety.
- Bat Houses Need: Regularly inspect and clean bat houses to maintain their functionality, supporting bat populations and ensuring their well-being.
- House Placement Tips: Avoid mounting bat houses on trees to reduce predator risks and potential flight obstacles.