

I've discovered 15 cheap DIY garden path design ideas that can transform your outdoor space beautifully. You can opt for a pebble pathway, ensuring proper drainage with a sturdy base. Alternatively, crushed flagstone paths not only look elegant but are easy to assemble. Reclaimed bricks introduce charming history, while stepping stones paired with mulch add a rustic touch. Concrete slabs allow for customization, and pea gravel offers excellent drainage and versatility. Each option is budget-friendly and will help showcase your garden. Just wait until you see the creative materials I found that can elevate your gardening experience!
Pebble Pathway Basics

Stepping Stones With Mulch

After setting the foundation with a pebble pathway, stepping stones with mulch offer another stylish and functional option for navigating your garden. I love the combination of sturdy stepping stones and the soft, inviting look of mulch alternatives. First, I map out my path and clear any debris. Laying down landscape fabric prevents weeds while providing good drainage. Next, I arrange the stepping stones, ensuring they're spaced just right for walking. I fill the gaps with mulch, compacting it lightly for stability. Edging materials keep everything secure. For extra charm, I consider integrating decorative plants around the path. Proper preparation reduces costs compared to hiring landscapers. Regularly replenishing the mulch keeps the look fresh and inviting, enhancing the overall appeal of my garden space.
Crushed Flagstone Paths

There's something undeniably charming about a crushed flagstone path winding through a garden. The rustic beauty of this pathway elevates my garden's aesthetics while being budget-friendly. I find crushed flagstone, often available at local nurseries or online, easy to work with. For installation, I start by measuring and marking the path, ensuring it harmonizes with my garden layout. Assessing garden layout is crucial, followed by compacting the crushed stone with a tamper. I wet the stones to lock them in place and use edging materials for stabilization. I love how it allows ground cover to grow between the stones, creating a natural look. Plus, the durability and low maintenance make it a practical choice for any garden enthusiast.
Reclaimed Brick Walkways
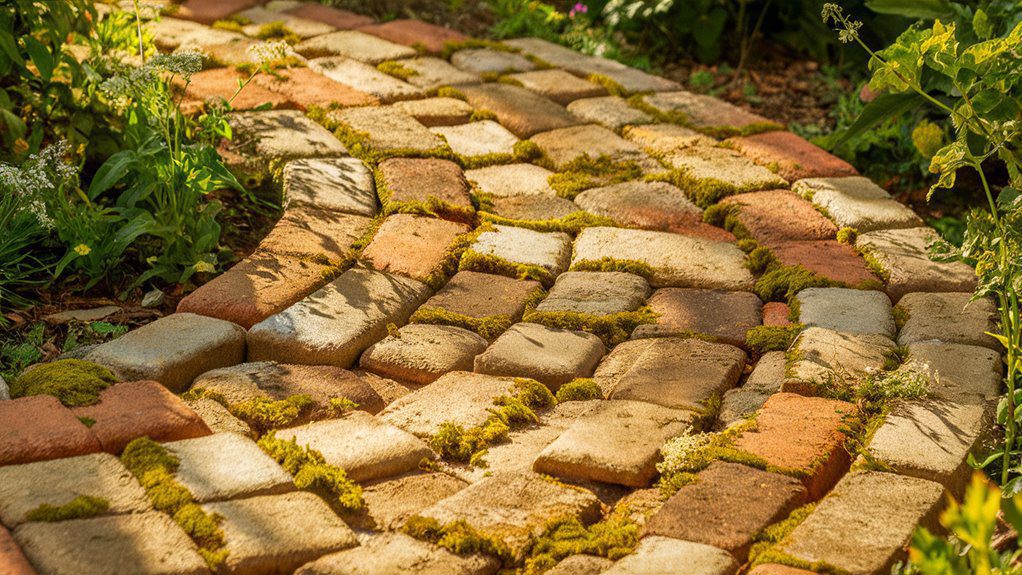
Transforming a garden with reclaimed brick walkways brings an enchanting, timeless quality to the landscape. I love sourcing bricks from demolition sites or even old Victorian garden walls, which adds history and character. You can find fantastic brick color variations by exploring local builders or checking Facebook Marketplace. Preparing the site is crucial; I always clear debris and level the ground, using compacted MOT or sharp sand as a solid base. When laying the bricks, I enjoy experimenting with patterns like herringbone or zig-zag, which highlight the reclaimed texture options. Filling gaps with water-activated polymer sand secures the pathway and keeps weeds at bay. Utilizing existing materials can significantly reduce costs, making reclaimed brick walkways an even more appealing choice. With proper maintenance, my reclaimed brick walkways remain a stunning focal point in my garden.
Concrete Slab Designs

Reclaimed brick walkways offer a rustic charm, but if you're looking for a more modern and versatile option, concrete slab designs might be the way to go. I love how concrete allows for endless customization with concrete texture variations and decorative slab patterns. When planning your path, consider the layout of your garden and foot traffic patterns to determine the best location. After leveling the ground, I recommend digging a trench for your slabs and adding compacted gravel for drainage. As you install the slabs, leave spaces for filler materials like decomposed granite, which enhances their aesthetic. Finally, edging materials help keep everything in place, ensuring your pathway is both functional and visually appealing. Incorporating flagstone and decomposed granite into your design can also enhance stability and reduce weed growth.
Moss Pathway Creation

Creating a moss pathway is a delightful way to infuse your garden with natural beauty and tranquility. I love starting by selecting the right moss species; using existing moss from my yard not only saves money but ensures it thrives in our local environment. I prepare the site by roughing up the compacted, damp soil in shady spots, then wetting the ground before transplanting. I peel up small sections of moss with a paint scraper and place them slightly overlapping, ensuring they're secure. Moss thrives in specific conditions such as dampness and shade, making it an ideal choice for less sunny areas of your garden. For maintenance, I follow a few moss maintenance tips: I occasionally water during dry spells and hand weed as needed. This minimal upkeep results in a lush, inviting path that absorbs moisture and enhances my garden's charm.
Plant-Filled Joints
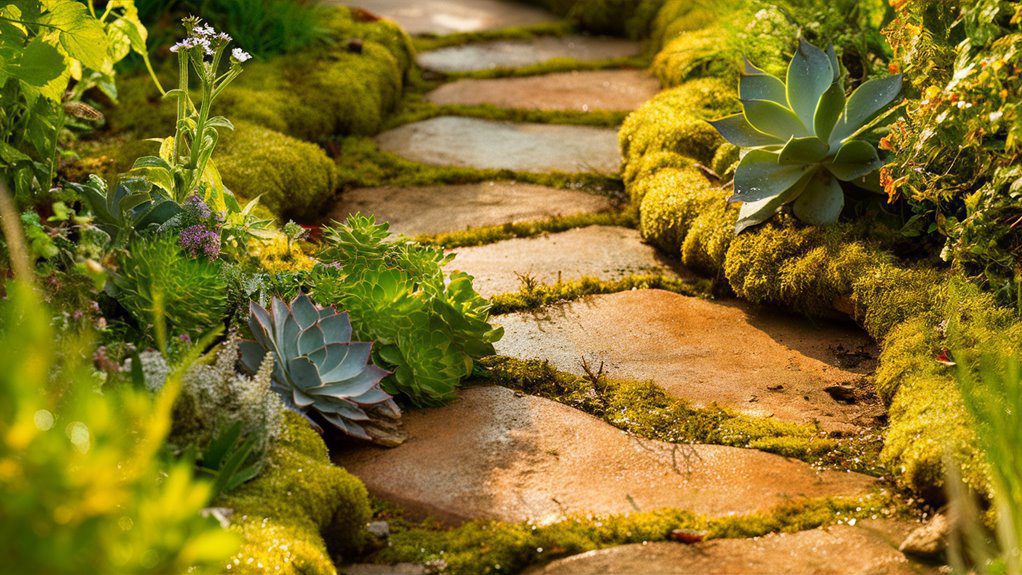
A well-designed path can become even more enchanting with the addition of plant-filled joints that breathe life and color into the spaces between stones. I love choosing plants with shallow roots, like thyme or succulents, to ensure they won't disrupt the integrity of my path. Self-seeding plants can fill those joints quickly, creating a lush look with minimal effort. I carefully place them in areas where stones don't meet, ensuring they touch when mature to avoid gaps. To add visual interest, I mix textures and colors, using curvilinear patterns that guide the eye. Repetition of colors should be considered when selecting plants to enhance the overall aesthetic. Remember to maintain flexibility; occasionally removing some self-seeding plants keeps the design fresh and vibrant. Each step along the path becomes a delightful experience with this plant-filled approach!
Simple Gravel Pathways

Simplicity often leads to elegance in garden design, and that's precisely what you'll find with simple gravel pathways. I love using gravel because it's one of the most cost-effective materials, often ranging from $1 to $3.15 per square foot. To start, I mark the path with string or spray paint, then remove any grass or weeds. Digging a 4-6 inch trench allows for proper drainage. I lay down a foundation of sand or landscaping tarp, ensuring stability. When creating a gravel path, consider proper drainage to enhance longevity and prevent water accumulation. When it comes to gravel path maintenance, I regularly rake the surface to keep it smooth and compact. For gravel edging options, I often choose metal strips or natural logs to prevent shifting, creating a polished and inviting walkway in my garden.
Pebble Mosaic Ideas

Pebble mosaics transform ordinary garden paths into stunning visual statements that capture the eye and spark curiosity. I love experimenting with colorful patterns using pebbles in various sizes and hues. For instance, a Galaxy Swirl design, featuring dark cobblestones and vibrant ceramic tiles, creates mesmerizing concentric circles. Alternatively, a Centered Spiral showcases equally sized pebbles radiating outward, enhanced by contrasting colors. When using mosaic techniques, I often opt for a Star Struck design, with a striking white star set against a dark background. Each pattern I create adds unique charm to my garden, while the meticulous placement of pebbles ensures stability and beauty. Incorporating a mix of pebble sizes and colors can significantly enhance the overall visual appeal of your path. Remember, preparation is key for a successful and eye-catching pebble mosaic path!
Wooden Pathway Designs

Creating a wooden pathway in your garden can effortlessly elevate its aesthetic and functionality. I love using pressure-treated wood or reclaimed timber for that rustic charm, giving my space a warm, inviting feel. For a more modern aesthetic, I often opt for click & lock products, which are easy to install and come in various finishes. I usually prepare the ground by leveling it and laying the planks on gravel for proper drainage. By integrating gentle curves, my pathways meander beautifully through the garden, complementing existing features like rock walls. Adding stenciled designs on select boards allows for personal flair. With minimal maintenance, these pathways remain durable, making them a practical and stylish choice for any garden.
Compacted Decomposed Granite

While wooden pathways bring warmth and character to a garden, compacted decomposed granite offers a different kind of beauty and practicality. This durable material withstands heavy foot traffic and varying weather, lasting for years with minimal maintenance. To install, I first excavate the pathway to a depth of 4-6 inches, compacting the soil for stability. I then use pathway edging to contain the granite and lay a base layer of crushed rocks for effective drainage solutions. Spreading the decomposed granite in layers, I compact it thoroughly, ensuring a firm, semi-solid surface. This pathway not only enhances the landscape but also allows rainwater to replenish groundwater, making it a smart, eco-friendly choice for any garden.
Pea Gravel Applications

When it comes to versatile landscaping solutions, pea gravel stands out as a superb choice for various applications in your garden. I love using it for pathways, patios, and even cozy fire pit areas. Its durability makes it perfect for high-traffic spots and dog runs, while its excellent drainage benefits prevent puddles and moisture-related damage. Plus, it can effectively replace traditional mulch in garden beds, hiding dirt and preventing erosion. For maintenance, I recommend occasional raking and weeding to keep it tidy. Remember to periodically redistribute the gravel to maintain even coverage. With its earthy colors, pea gravel not only serves a functional purpose but also enhances the overall aesthetics of your outdoor space.
DIY Path Construction Tips

Designing your garden path can be an exciting project that transforms your outdoor space, and I've found that careful planning is key to achieving a durable and aesthetically pleasing result. Start by mapping out your design, considering the width and whether you prefer a straight or winding path. After preparing the base—removing debris and digging a trench—you'll want to ensure proper drainage. Slope the path away from structures and compact the base material. As you lay your surface materials, remember to use edging for stability. For long-term path maintenance, I suggest making seasonal adjustments, like replenishing gravel or checking for weed growth. These small steps will keep your path looking great year-round!
Budget-Friendly Materials

Budget-friendly materials are often the unsung heroes of garden path design, and I frequently find that using them can elevate your outdoor space without draining your wallet. When exploring budget-friendly options, I love incorporating reclaimed wood or recycled bricks, which add rustic charm and character. Crushed flagstone not only looks beautiful but also helps keep weeds at bay. For a unique touch, I sometimes use moss or steppable plants like woolly thyme alongside natural stones. Gravel and pebbles are excellent for drainage and can easily withstand foot traffic. Embracing creative upcycling, I often repurpose slate or leftover pavers, transforming them into stunning pathways that reflect my personal style while being gentle on my budget.
Sourcing Supplies Affordably
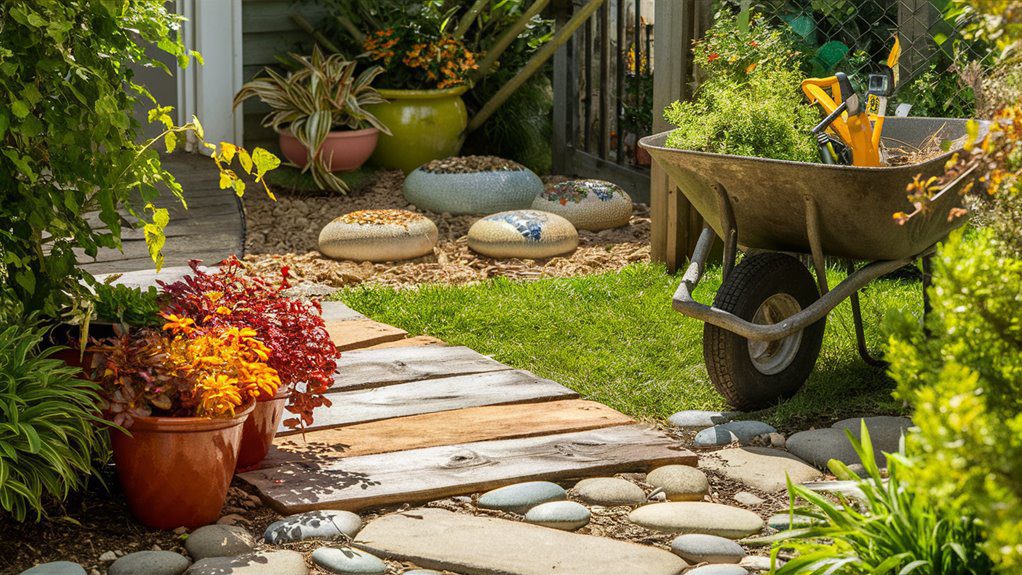
Finding affordable supplies for your garden path project can make a significant difference in both cost and creativity. I always begin by scouting local landscaping supply stores and comparing prices. You'd be surprised at the local discounts you can find at hardware stores and nurseries, especially during seasonal sales. I also tap into community sharing by joining local gardening clubs or checking community boards for information on affordable sources. Don't overlook online classifieds like Facebook Marketplace; you can score great deals on materials. If you have leftover pavers or stones from past projects, reuse them! Lastly, consider bulk purchases for better rates. Embracing these strategies can transform your garden path without breaking the bank.